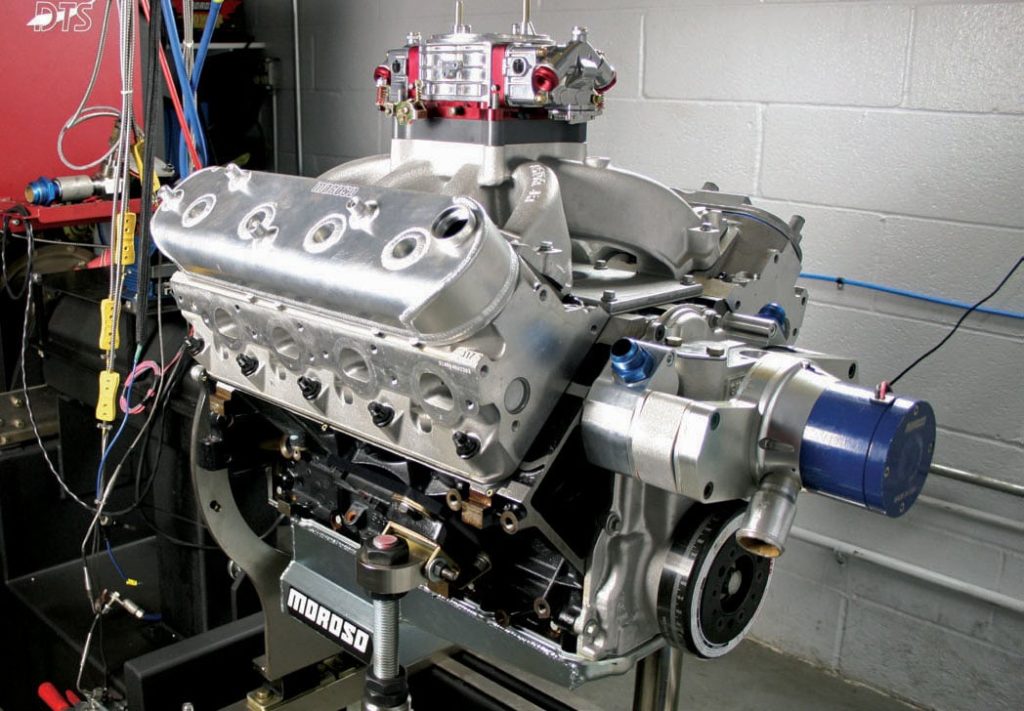
Upgrading to billet valve covers is one of the easiest ways to enhance your engine’s performance, reliability, and under-hood appearance. Whether you’re chasing horsepower, fixing a leaky cover, or just adding a touch of custom style, proper installation is key to getting the most out of your investment.
In this guide, we’ll walk you through how to install billet valve covers like a pro — with step-by-step instructions, essential tools, and expert tips to avoid common mistakes.
🔧 What You’ll Need
Before you start, gather the following tools and parts:
Tools:
- Socket set (usually 10mm or 13mm, depending on your engine)
- Torque wrench (inch-pounds preferred)
- Gasket scraper or plastic razor blade
- Brake cleaner or degreaser
- Shop rags or paper towels
Parts:
- Billet valve covers
- New valve cover gaskets (often rubber or silicone)
- RTV silicone (if recommended by the manufacturer)
- Optional: Breather fittings, PCV grommets, or oil fill caps
🧰 Step-by-Step Installation Guide
Step 1: Prepare the Work Area
- Make sure your engine is cool to the touch.
- Disconnect the negative battery terminal to avoid accidental sparks.
- Remove any components obstructing access to the valve covers — air intake tubing, ignition coils, or plug wires, depending on your engine.
Step 2: Remove the Old Valve Covers
- Carefully unbolt the existing valve covers.
- Gently pry them loose if they’re stuck — but avoid bending or damaging the mating surface.
- Remove the old gasket and clean the surface thoroughly using a gasket scraper and brake cleaner.
- Ensure no debris or old RTV remains on the sealing surface.
Step 3: Prep the New Billet Valve Covers
- If your billet covers have pre-installed gaskets, double-check they’re seated properly.
- If not, install your new gasket according to manufacturer instructions. Some gaskets may require a small dab of RTV at the corners (especially on V8 engines near the timing cover or rear of the head).
- Install any fittings, breathers, or PCV grommets before mounting the covers.
Step 4: Install the Billet Valve Covers
- Carefully place the new valve covers onto the cylinder heads.
- Start all bolts by hand to avoid cross-threading.
- Using a torque wrench, tighten the bolts in a crisscross pattern to ensure even pressure.
- Typical torque spec is around 85–120 in-lbs (not ft-lbs) — always check your specific engine’s requirements.
- Do not overtighten — billet covers are rigid and don’t need much torque to seal.
Step 5: Reinstall Components & Double-Check
- Reinstall any ignition coils, spark plug wires, or vacuum lines.
- Reconnect the negative battery cable.
- Double-check:
- Breather and PCV fittings are secure
- Oil fill cap is tight
- Gasket is seated properly
Step 6: Start It Up & Check for Leaks
- Start the engine and let it idle.
- Look around the valve cover edges for any signs of oil seepage.
- If you notice a leak, shut off the engine and retorque the bolts slightly.
⚠️ Pro Tips for a Perfect Install
- Don’t reuse old gaskets. Even if they “look fine,” they often won’t seal correctly a second time.
- Check valve cover clearance if you’re running aftermarket rockers or stud girdles. Some billet covers offer extra height for this reason.
- Match breather setups — if your old covers had breathers or PCV ports, make sure your new ones accommodate them.
- Use a dab of thread locker (medium strength) if your engine is prone to vibration or heat cycling.
💭 Final Thoughts
Installing billet valve covers is a relatively quick upgrade, but doing it right makes all the difference. A clean, leak-free seal and proper torque will ensure your new covers not only look amazing but also last for years to come.
Whether you’re building a street machine, show car, or race rig, now you know how to install billet valve covers like a pro.